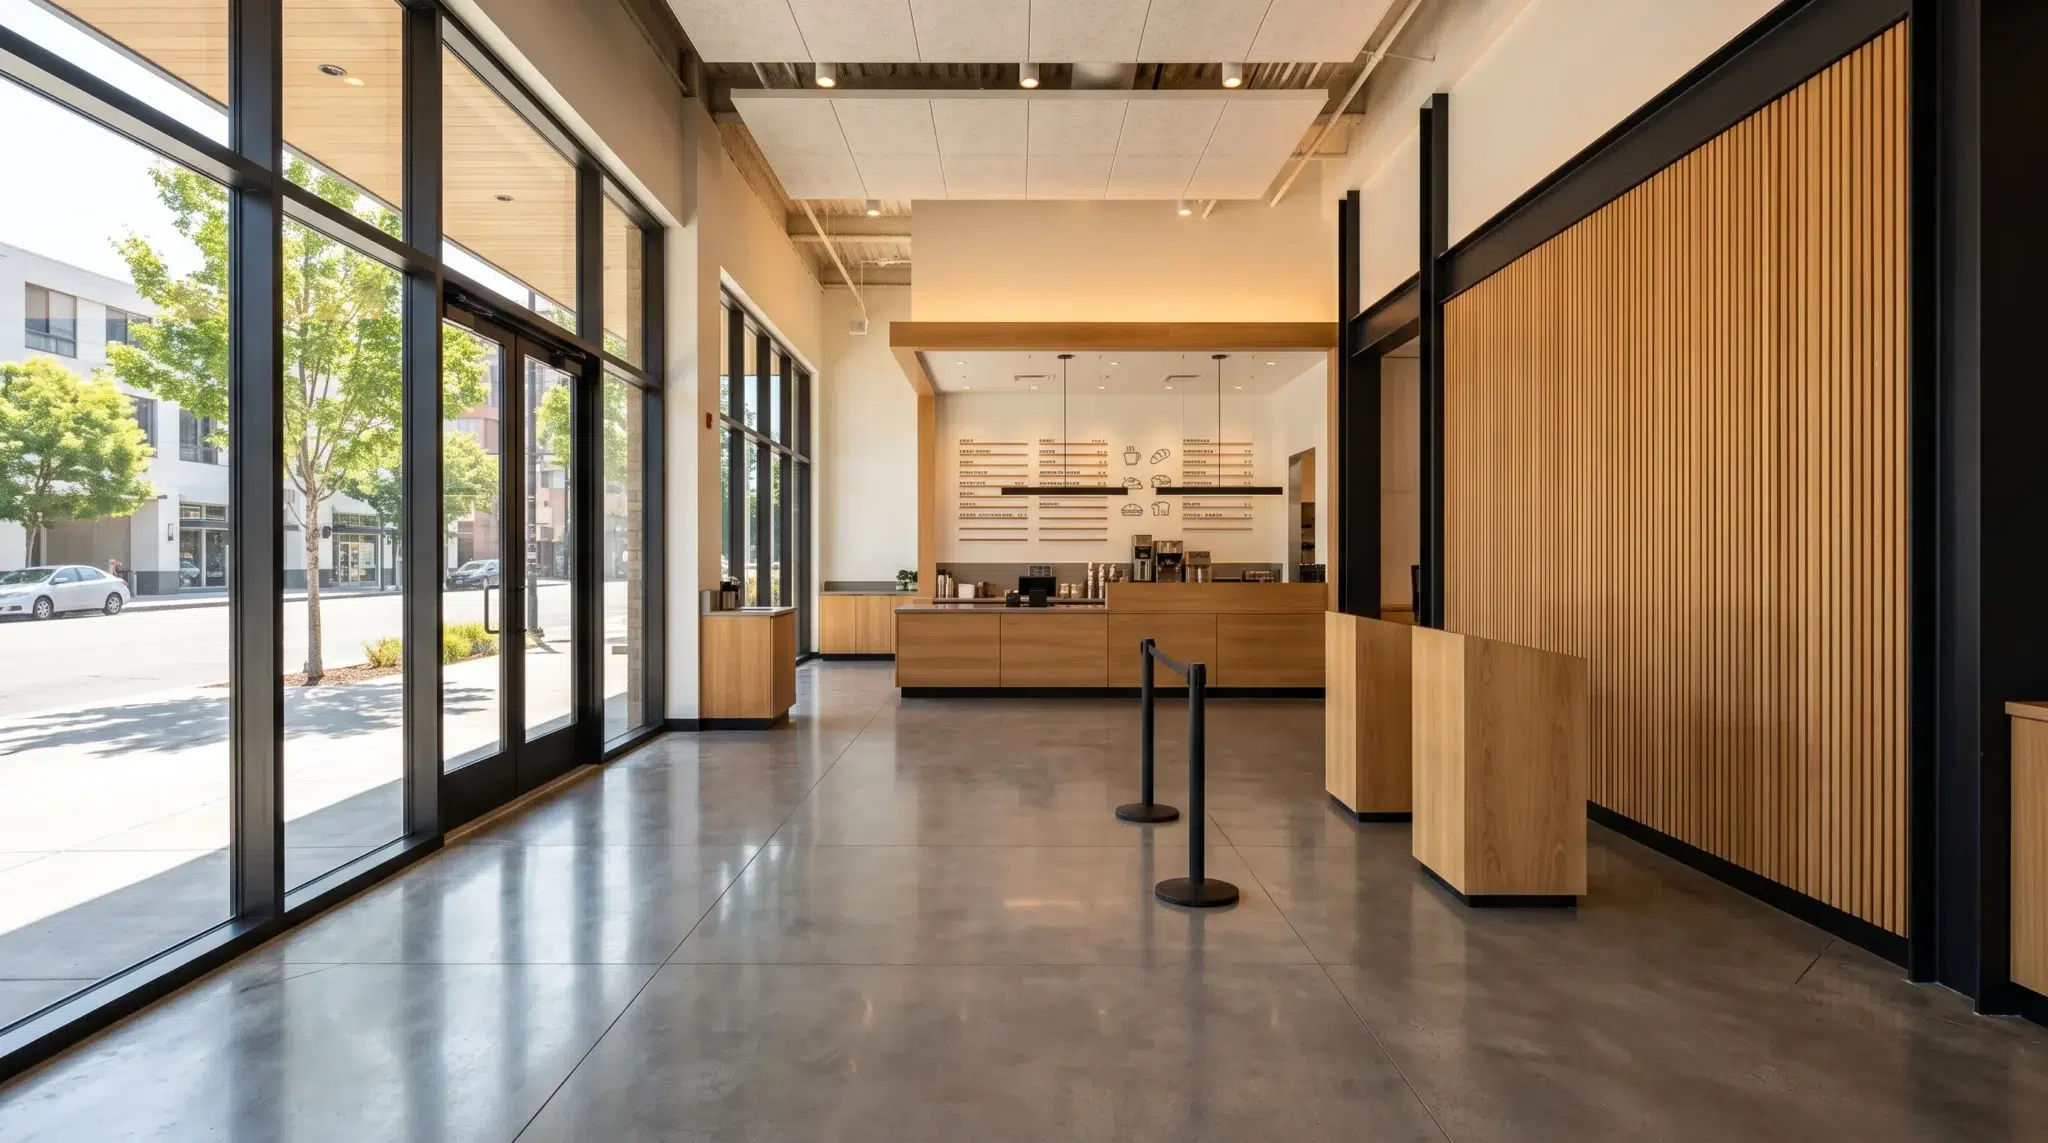

Executing an effective restaurant kiosk placement strategy is the single most critical factor determining the success of a self-ordering rollout. Fast-casual and quick-service restaurant operators often invest substantial capital into digital touchscreen hardware, expecting immediate ticket expansion and labor optimization. However, simply placing digital hardware randomly inside your front entrance frequently creates operational chaos. When kiosks are positioned improperly, customer queues collide with incoming foot traffic, block main entry doors, and create frustrating bottlenecks across the dining room.
Consequently, guests become confused, ordering lines grind to a halt, and frustrated diners abandon their visits entirely. The physical environment directly dictates customer behavior. When diners encounter an intuitive, unobstructed spatial layout, they naturally navigate toward digital ordering touchscreens without hesitation. Conversely, poor spatial planning triggers visual confusion and increases customer hesitation at the front door.
To maximize throughput and capture higher average ticket sizes, restaurant operators must treat lobby design as an intentional architectural workflow. Modern fast-casual floor plans must isolate self-ordering queues from mobile pickup stations, maintain strict accessibility corridors, and provide direct eye-level sightlines. This comprehensive guide outlines the architectural guidelines, spatial formulas, and equipment configurations required to master restaurant kiosk placement across any footprint.
Table of Contents
- The Golden Triangle of Fast-Casual Lobby Architecture
- Separating Self-Order Queues from Mobile Pickup Zones
- Architectural Guidelines for Optimal Restaurant Kiosk Placement
- Balancing Cashier Counters with Automated Touchscreens
- Floor Plan Calculations: Sizing Kiosk Capacity to Lobby Square Footage
- Side-by-Side Comparison
- How Biyo POS Powers Flexible Restaurant Kiosk Placement
- Frequently Asked Questions
The Golden Triangle of Fast-Casual Lobby Architecture
Every successful fast-casual floor plan relies on an invisible geometric framework known as the Golden Triangle. This spatial concept balances three critical touchpoints: the primary entrance, the ordering station, and the order pickup counter. When these three zones interact without cross-traffic friction, customer throughput reaches maximum velocity.
Therefore, your physical layout must guide guests through a natural, one-way pedestrian arc from arrival to dining room seating. Understanding how architectural flow influences consumer psychology allows operators to eliminate counter congestion permanently.
Eliminating Entry Door Swing Collisions and Transition Friction
The most common mistake in fast-casual design is placing ordering hardware directly inside the front entrance door frame. When customers open the exterior door, they require a physical “decompression zone” to adjust to the restaurant lighting, assess the environment, and step out of the doorway. Positioning a touchscreen within four feet of the entrance creates immediate physical friction.
As incoming guests stop abruptly to read menu boards, the physical swing path of the door strikes waiting patrons behind them. Furthermore, rainy or cold weather exposes queuing customers to uncomfortable drafts every time the front door opens. Operators must establish an unobstructed decompression buffer of at least eight to twelve feet between the entrance threshold and the first touchscreen. This buffer gives arriving diners sufficient space to step inside comfortably before making their ordering decision.
Establishing Unobstructed 45-Degree Eye-Level Sightlines
Human spatial orientation depends heavily on immediate visual recognition upon entering an unfamiliar space. When diners step past the decompression zone, their natural peripheral vision scans the room in a 45-degree forward cone. If ordering stations are hidden behind architectural pillars, structural walls, or tall merchandising racks, guests default to walking toward the traditional cashier counter.
To drive high digital adoption rates, positioning must ensure that touchscreen interfaces fall directly within this 45-degree sightline. Angling touchscreen displays slightly toward the entrance immediately captures guest attention. In addition, illuminated screen graphics and dynamic visual attract loops confirm that the terminals are active and ready for ordering. Clear visual cues remove cognitive hesitation and encourage diners to engage with self-ordering hardware instantly.
 Separating Self-Order Queues from Mobile Pickup Zones
 Separating Self-Order Queues from Mobile Pickup Zones
The modern restaurant lobby no longer serves a single linear customer stream. Instead, contemporary fast-casual operations manage three distinct customer profiles simultaneously: walk-in dine-in guests, digital mobile pickup customers, and third-party delivery couriers. Merging these competing traffic flows into a single waiting corridor guarantees lobby gridlock.
Consequently, intelligent floor plan architecture requires strict spatial segregation between ordering queues and fulfillment waiting areas. Establishing dedicated physical pathways keeps your dining room calm and organized during peak sales rushes.
The Friction Point: Merging In-Store Diners with Delivery Couriers
When digital ordering kiosks and food pickup counters share the same physical lobby zone, operational chaos ensues. Seated dine-in customers attempting to customize their meals on a touchscreen find themselves crowded by hurried third-party couriers checking order numbers on their smartphones. In addition, customers waiting for completed orders naturally drift into the queue space reserved for active kiosk users.
This spatial collision creates uncomfortable physical crowding, increases ambient noise levels, and blocks access to condiment stations. Furthermore, couriers hovering directly in front of touchscreens obscure menu displays from arriving guests. Eliminating this friction requires establishing two entirely separate traffic corridors: an “Active Ordering Zone” on one side of the lobby and a “Passive Fulfillment Zone” on the opposite perimeter.
Creating Dedicated Staging Corridors and Directional Stanchions
Physical wayfinding cues guide customer foot traffic without requiring verbal staff direction. Architectural dividers, low-profile planter boxes, and slim queue stanchions establish clear behavioral boundaries across your floor plan:
- The Self-Order Queue Corridor: Form a dedicated single-file approach lane leading directly to touchscreen banks, preventing unstructured crowding behind active users.
- The Mobile Pickup Holding Area: Position a separate waiting lounge equipped with wall benches or standing rails away from main entry paths, keeping couriers clear of ordering stations.
- Directional Floor Inlays: Utilize subtle architectural material changes—such as shifting from polished concrete to wood plank tile—to intuitively direct incoming guests toward digital ordering banks.
Architectural Guidelines for Optimal Restaurant Kiosk Placement
Determining the exact physical mounting method and structural placement of your hardware depends heavily on your overall building envelope. Kiosks must balance maximum visual prominence with strict compliance regarding municipal building codes and accessibility standards.
Carefully selecting between perimeter wall mounting and freestanding island configurations ensures that your restaurant kiosk placement enhances operational efficiency without compromising interior aesthetics.
Perimeter Wall-Mounted vs. Freestanding Island Positioning
Choosing between wall-mounted hardware and freestanding pedestals depends on lobby width and architectural sightlines:
- Perimeter Wall-Mounted Arrays: Best suited for narrow urban footprints and linear corridors. Mounting hardware flush against interior walls preserves central floor space and conceals power cabling inside wall cavities. However, wall arrays must incorporate acoustic dampening panels to prevent sound reflections from echoing across the dining room.
- Freestanding Central Islands: Ideal for wide, open-concept dining lobbies. Freestanding dual-sided pedestals allow two to four guests to order simultaneously within a compact central footprint. In addition, central islands act as natural architectural baffles, dividing the front entrance from seated dining tables.
Regardless of the mounting format chosen, all cabling and power conduits must run through core-drilled floor plates or commercial raceways to eliminate tripping hazards and maintain a clean visual aesthetic.
Maintaining ADA Accessibility and 36-Inch Clearance Corridors
Commercial restaurant layouts must strictly adhere to Americans with Disabilities Act (ADA) accessibility standards and local building fire codes. Failing to incorporate accessibility clearances during the planning phase leads to costly remodel work and potential legal liability.
Every self-service station must provide a clear floor space of at least 30 inches by 48 inches directly in front of the touchscreen terminal. Furthermore, the surrounding pedestrian circulation corridors must maintain a minimum clear width of 36 inches—or 42 inches in high-volume commercial egress paths. Touchscreen user interfaces must also comply with vertical reach standards, ensuring that all interactive elements, card readers, and receipt dispensers remain positioned between 15 inches and 48 inches from the finished floor surface.
Balancing Cashier Counters with Automated Touchscreens
Deploying self-service technology does not mean eliminating the human element from your front-of-house operations. Instead, it redefines the role of the traditional service counter. Rather than functioning as a congested bottleneck for data entry, the counter transforms into an active hospitality and fulfillment station.
Properly balancing digital touchpoints with staffed registers creates a welcoming environment that accommodates all guest demographics.
Positioning Kiosks as Primary First-Touch Ordering Nodes
To achieve high digital adoption, touchscreens must serve as the primary first-touch ordering node encountered by entering guests. If a customer walks through the front entrance and sees an open, staffed register immediately in front of them with kiosks tucked away in a dark corner, the customer will naturally walk to the cashier.
To shift customer habits, position your self-service bank directly along the natural path of travel, while positioning the staffed register slightly deeper into the lobby. This layout ensures that guests encounter the digital interface first. Customers who prefer using cash, have complex custom inquiries, or require physical assistance can easily proceed to the staffed service register without disrupting digital queue flow.
Reallocating Cashier Stations to Guest Concierge and Expediting
As self-service adoption climbs past seventy percent, the physical space dedicated to traditional cashier registers can be substantially reduced. Replacing three bulky cash registers with a single compact register frees up prime counter real estate for guest hospitality and food packaging:
- The Host Concierge Station: Reassign front-of-house team members from typing orders to welcoming guests, answering ingredient questions, and guiding first-time users through the digital ordering screens.
- Expanded Packaging Pass: Convert redundant counter space into an organized expeditor staging lane equipped with ticket printers, drink sealing stations, and bag packing cubbies.
- Rapid Mobile Handoff Counter: Dedicate a section of the main counter specifically for rapid order pickup, complete with customer-facing order status screens.
Floor Plan Calculations: Sizing Kiosk Capacity to Lobby Square Footage
Determining the exact number of self-service terminals required for your restaurant requires mathematical modeling rather than guesswork. Under-provisioning hardware creates long queues that spill out the front door, while over-provisioning wastes valuable square footage that could otherwise be used for revenue-generating dining seats.
Applying standardized spatial calculations ensures that your hardware capacity matches peak hourly customer volume.
Calculating Dwell Time and Peak Queue Buffer Space
The physical footprint required for a self-service ordering zone consists of the hardware footprint plus the active customer dwell buffer. The average customer transaction dwell time at a digital ordering terminal ranges from 60 to 90 seconds. To calculate your required terminal count during peak lunch volume, use the following operational formula:
Required Kiosks = (Peak Hourly Customer Count * Average Dwell Time in Seconds) / 3600 Seconds
For example, a fast-casual restaurant serving 120 walk-in guests between 12:00 PM and 1:00 PM with an average dwell time of 75 seconds requires exactly 2.5 terminals ((120 * 75) / 3600 = 2.5). In this scenario, installing three terminals provides sufficient capacity to eliminate customer queue formation during peak rushes. Furthermore, operators must allocate a queue buffer of at least 15 square feet per active ordering station to accommodate waiting guests comfortably.
Determining Optimal Kiosk Unit Density per 1,000 Square Feet
Lobby dimensions dictate the physical density of ordering hardware that a space can support sustainably:
- Compact Footprints (Under 1,500 Total Sq Ft): Allocate two countertop or slim wall-mounted units positioned along the primary perimeter wall, reserving central space for circulation.
- Mid-Size Footprints (1,500 – 3,000 Total Sq Ft): Deploy three to four freestanding or wall-mounted units arranged in an angled linear bank, supported by directional stanchions.
- High-Volume Flagship Footprints (3,000+ Total Sq Ft): Install four to six terminals configured into dual-sided freestanding central islands, completely isolating ordering traffic from the main dining room.
Side-by-Side Comparison
| Operational Factor | Unplanned / Random Kiosk Setup | Architecturally Planned Kiosk Placement (Biyo POS) |
|---|---|---|
| Entrance Doorway Flow | Door swing collisions; entryway blocked by queues | 8–12 ft decompression zone with clear circulation |
| Customer Line Segregation | Couriers, dine-in, and mobile guests mixed together | Isolated ordering corridors and dedicated pickup areas |
| Visual Sightlines | Hardware hidden behind pillars or decor | Immediate 45-degree forward sightline alignment |
| ADA & Fire Code Compliance | Tight pinch points below 36-inch clearance | Full 42-inch corridors and compliant reach zones |
| Digital Adoption Rate | Low (Under 30% due to visual confusion) | High (70%+ natural guest migration to screens) |
| Hardware Footprint | Bulky proprietary podiums consuming dining seats | Compact countertop, wall, or slim pedestal options |
| Cable & Network Routing | Exposed cords and messy surface raceways | Integrated internal conduit and clean cable routing |
| Countertop Space Efficiency | Registers dominate front counter space | Counter converted to hospitality and packaging expo |
 How Biyo POS Powers Flexible Restaurant Kiosk Placement
 How Biyo POS Powers Flexible Restaurant Kiosk Placement
Biyo POS provides a comprehensive cloud point-of-sale and self-ordering software ecosystem engineered to adapt to any physical restaurant footprint. Operating seamlessly inside the Google Chrome browser on any PC, Mac, iPad, or Android touchscreen device, Biyo eliminates the need for expensive proprietary hardware contracts and costly structural architectural renovations.
With Biyo’s highly adaptable Kiosk Mode, operators can execute any restaurant kiosk placement strategy with complete physical flexibility. Whether mounting compact touchscreen tablets directly to perimeter walls, deploying sleek countertop stands along customer queue rails, or utilizing modern freestanding pedestals, Biyo fits effortlessly into small fast-casual footprints without requiring structural demolition. The software interface automatically adjusts its layout to optimize touch targets, guide guests through forced modifier trees, and display high-definition culinary photography that drives ticket expansion.
Furthermore, Biyo synchronizes your self-ordering hardware with your entire kitchen fulfillment operations in real time. Orders placed at your digital kiosks dispatch instantly over local WebSockets to the Biyo Kitchen Display (KDS) app on Google Play, splitting items across specialized prep lines like grill, fry, and cold assembly automatically. Store managers can perform fast barcode stock audits using the Biyo Inventory Scanner app on the Apple App Store, consolidate third-party delivery channels through Kitchen Hub, and maintain uninterrupted ordering during network drops with Biyo’s true offline transaction mode.
To discover how easily your restaurant can optimize its lobby floor plan, eliminate queue bottlenecks, and deploy flexible self-ordering kiosks, you can schedule a live demo with a layout specialist or register your account today on the Biyo signup page.
Frequently Asked Questions
What is the most effective restaurant kiosk placement in a small lobby?
The most effective restaurant kiosk placement in a small lobby is mounting compact touchscreen terminals directly onto perimeter side walls, angled 45 degrees toward the front door, maintaining an 8-to-12-foot decompression buffer from the entrance.
How much clearance space is required around a self-service ordering kiosk?
Building codes and ADA standards require a minimum clear floor space of 30 inches by 48 inches in front of each terminal, along with an unobstructed pedestrian circulation path of at least 36 to 42 inches wide.
How do you prevent self-service kiosk lines from blocking the front entrance?
You prevent doorway blocking by creating a dedicated decompression zone between the entrance and the first terminal, utilizing directional queue stanchions, and angling touchscreens away from the door swing path.
Should self-ordering kiosks be placed before or after the traditional cashier counter?
Kiosks should always be placed before the traditional cashier counter along the customer’s natural arrival path, ensuring that guests encounter digital ordering options first while keeping the staffed counter visible for cash payments.
What is the difference between countertop and freestanding restaurant kiosks?
Countertop kiosks utilize compact stands mounted on existing counters or queue rails to save floor space, whereas freestanding kiosks utilize weighted floor pedestals that can be positioned anywhere across an open lobby.
How does Biyo POS route kiosk orders to kitchen display systems?
Biyo POS transmits kiosk orders instantly over local WebSockets to the Biyo Kitchen Display (KDS) app on Google Play, splitting complex tickets across specialized prep stations with zero latency or manual cashier re-entry.